How to Make a Beaded Photo Frame
Frame Measurement 3.5 x 2.3 in.
Materials
Pearl Beads 66 mm.
Nylon String 26 Ga.
Illustration board
Acetate
Wire (for stand)
Glue/glue stick
Tools
Cutter
Glue gun
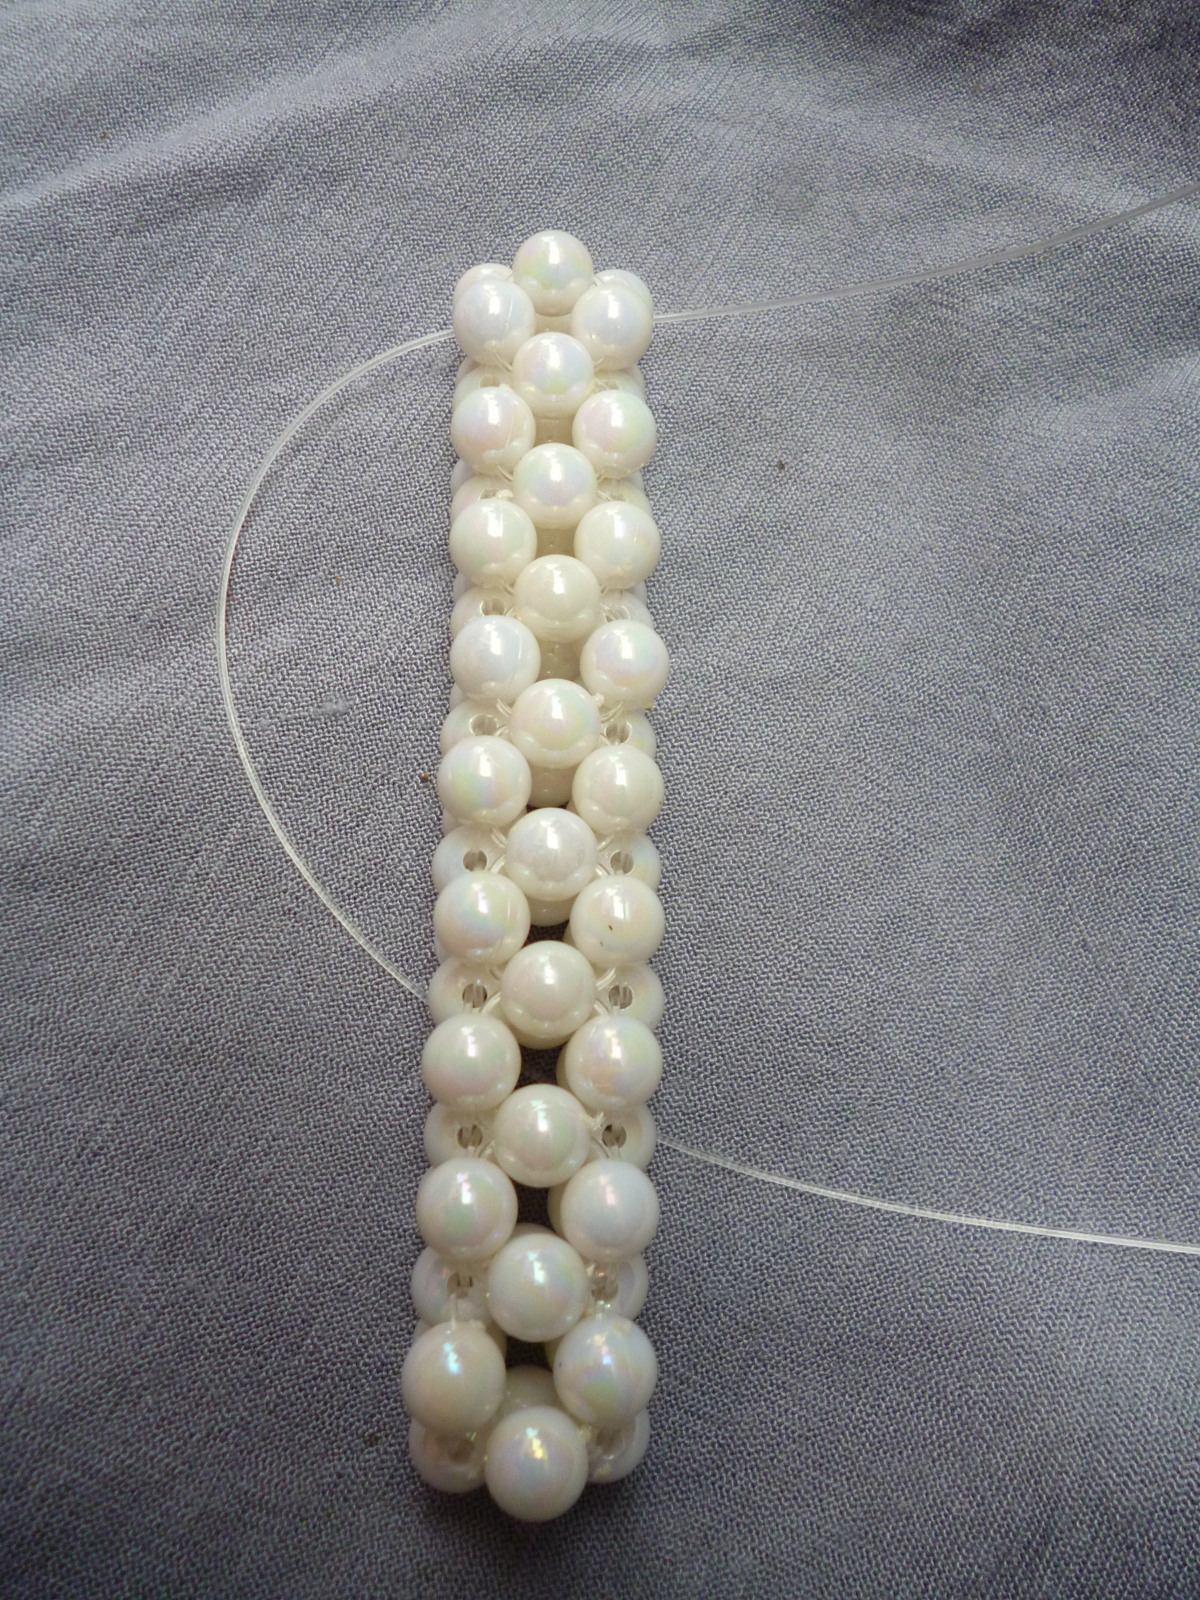
A. Create 9 Bead Cubes.
Here's how to make bead cubes.
1.Slide 3 beads on the right and one on the left. Pull the string from both sides making sure you have equal lengths.
2. Slide 2 beads on the left and 1 one the right.
3. String the left cord in to the bead on the right side.
4. String the bottom cord into the bead just below it.
5. Add two beads at the top cord.
6. String the bottom cord to the outermost bead
7. Take the bottom cord and sting it into the bead right at the bottom
8. String it once more to the bead above it
9. Add one bead and criss-cross the left and right cords into it.
This is your first bead cube
To create a second one...
1. Slide three beads in the top cord
2. Take your bottom cord and criss-cross on the last bead.
Your beads should look like this.
3. Add 2 beads into the top cord. insert your bottom cord into the bead just below it as shown in the photo. Add two beads and criss-cross on the last bead. Repeat the same procedure for the next side.
4. For this last side of the row, simply slide your right cord into three beads forming letter "v"
5. Add one bead and criss-cross the cord into it.
5. Add one bead and criss-cross the cords into it.
Now that you've done 2 cubes, make 7 more cubes to complete your 9 cube panel.
One panel done!
6. We will do the same procedure but this time we make a turn and will string side way to create 7 cubes.
7. After 7 cubes. Again make a turn to the side and make 9 cube panel and on to the last 7 cube panel.
8. Connect on the 6th cube and finish the frame.
.
To secure the excess string, string them back to the beads you have strung until you've used all the excess then snip off the remaining cords.
B. Create the back panel
9. Cut an acetate and illustration board just a little bit smaller than the size of the frame. Glue 3 sides (only) in this order.
photo frame
acetate
illustration board
Let it dry for 2-3 hours.
C. Create a wire stand at the back
Cut 5-6 in of wire. make a loop on one end and bend to form number 7 on the other end
Attach the wire stand at the back of the frame by using hot glue to secure it .
You may cover the glued part with a black lace or any piece of fabric
Finished Product
.